Replacing the bannister spindles (balusters, technically; who knew?) which had been inexplicably removed by previous occupant or occupants unknown proved more difficult than it should have done. It seems that they removed the old balusters and filled in the rebate that they sat in somehow. This meant that I had to work out a way of fixing new ones securely.
I didn't want to rebate out the stringer (I think that's what it's called) as I didn't know what was in there in terms of screws/nails etc and brackets would have been expensive. In the end I settled for a large dowel drilled and glued through the top of the rail and two or three big nails driven through the bottom of each baluster into the string, all topped off with wood filler. I broke two drill bits during the process and the balusters at the top required a slightly different approach but all in all it worked pretty well. It also came in nice and cheap at ~£15 for the timber from the timber merchants
not B&Q where the same material would have been 4 or 5 times the price. Covers for timber from now on.
The non-standard spacing of only 7cm (instead of the regulation 10) between balusters would help to reinforce the joinery in the unlikely event of someone falling through it too. I would like to claim that this was done on purpose but it was, in fact a miscalculation. I cut a 9.5cm spacer block to ensure that they were all uniform and then bevelled it, effectively reducing it to 6.8-ish. I realised this around the third baluster so it was too late to change it. I estimate that it meant I had to fit 4 or 5 extra spindles but that's not a big problem.
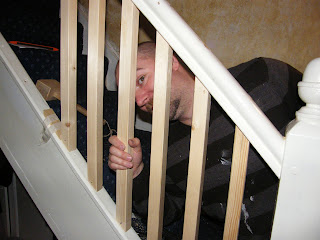 |
| Obligatory "behind bars" shot |
 |
These two shots illustrate a couple of more unusual dowel placements
at the top of the staircase. |
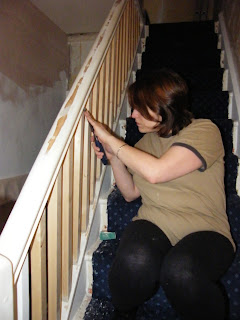 |
| Sonia begins cleaning up all the glue and filler. |
 |
| And a coat of primer before gloss. |


