Showing posts with label Interior. Show all posts

Thursday, 17 May 2012

The Kitchen

I didn't think there was too much to do in the Kitchen but Son disagreed. I'm glad she did as a a refresh was actually much needed and not too difficult to achieve.

Step 1, pick some paint. The Kitchen was all over white bar the floor and the worktop. White cupboards, white walls and white appliances so it felt like a hospital ward. Except for the tobacco stains on the walls and ceiling, of course.

To the right, 1 coat of white paint. To the left, yuck.
We chose a grey-ish, dusky pink colour called "Lauren" from B&Q's own range with a view to "warming" the kitchen up a bit.  
2 coats of "Lauren". Looks good next to the tobacco/grease stains.

Our original plan was to change the cupboard doors but as a quick fix we decided to just change the door knobs for now. We had a lucky break here, managing to find a big box of kitchen bits in a car boot sale for a fiver. This included the 28 door knobs we needed. These are usually four or five pounds each. They're not what we would have chosen but look great which just goes to show that sometimes you need to step our of your immediate comfort zone with styling options.

As can clearly be seen in this photo, the gold
door knobs were in need of an update.
We went back to ebay for new lino. £65 delivered and we got a perfect match for the new wall colour. It's lightened the kitchen too which makes up for the slightly darker walls.

It's the last time you have to clean it baby.

Posing with a 7-month bump.


This being the second piece of lino I've ever fitted I of course considered myself an expert. Nothing's easy though and, again there was a lot of swearing. Choosing to fit lino in a kitchen at 6:00 in the evening on a Saturday probably wasn't the best idea. Especially when we were out in London the following morning and when we'd spent most of the day at our Ante-natal class. We got it done by 10:30 in the end. I did have to send Sonia out for chips at about 8:00 though.

My lessons on lino:
1) I sometimes found myself sitting on the floor, lino perched on my head, trying to cut an irregular rectangle out with scissors. This awkwardness could have been avoided if I cut the whole sheet roughly to size first.
2) Square patterns make things much easier as you can simply use the grid to trim roughly rather than a measuring tape.
3) Vinyl tears. That is all.
4) Lastly, and most importantly; cut less off than you think you need to every time. This means you have to cut everything at least twice but you can't glue bits back on once you've cut them.

It's all smiles at the moment but I've only just started.
Check out the lovely new door handles too.

Fair's fair.


Sonia is over-crtical...

...but likes her newly-refreshed kitchen.
All that's left to do is put the kickboards back on, re-install the washing machine and dishwasher and sort out the lights. But that's a post for another day.

Saturday, 28 April 2012

The Hall/Stairs and Landing

Firstly, let's remind ourselves of what we were up against.

The lovely light fitting we've been living with. Complete
with the *concrete* they'd used to fill  the channel.

The non-working doorbell

A good shot of the carpet and wall


The hall has been a labour of love (read: pain the ass). But, this most neglected of spaces (so neglected in fact, that it was difficult to find many "before" photos) will be the first thing that people see when they walk in the door. The new looks staircase has helped to create a certain "wow-factor" as you walk through the door but it is let down by the rest.

Preparation wasn't too difficult as the previous owners had kindly stripped most of the wallpaper before we got there. Though, curiously had left the ceiling papered. I guess it is a bit of a reach and seems to follow the pattern of "that looks more difficult, so we'll leave it for some other poor sod" which we've seen all over the house.

The first idea was to just paint it but after a quick test patch we (I) decided against that approach. The finish it left was simply too uneven for such a large area. Re-plastering would have involved quite an outlay as the old plaster was pretty crumbly and may have needed replacing so, as a (much) cheaper alternative we decided on lining paper.

This proved to be more difficult than we'd hoped. The plaster was so dry and crumbly that getting the paper to stick to it was a real pain. The seams peeled up a lot and peeled up even more after the paper was painted. The trick is to paint the wall with a coat or two of wallpaper paste and let it dry first. Then put the paper up. The seams were still popping up but not nearly as bad.


Pasting the wall after I realised this was the way to do it.

No, this seam isn't popping up. It's a trick of the light. What's that under my hand?
A bucket. Oh, you mean the other hand, huh?

New light fitting highlighting the seams. D'oh!
So, then we filled and little bits and stuck down the seams. Then painted with a cream colour and stuck down the seams. Then finally touched up any seams that had been stuck down and then stuck them back down again. There's still a couple to do but I'm sick of them for now.


Some finishing touches. Firstly, some coving in the hall and some moulding to go up the stairs and then a handrail as the top of the stairs is a bit of a deathtrap for unsteady inlaws and increasingly waddly wives.


It looks better now it's painted. I promise.


And then she waddled away. Waddle waddle.
Then, some carpet. Once again, our tame carpet fitter came round in his spare time.


Removal of the non-functioning burglar alarm is on my list. As is painting under the stairs.
And to finish off, paint the no-longer-matching front door a nice, contemporary cocoa bean brown.


Friday, 22 July 2011

Interior - Before

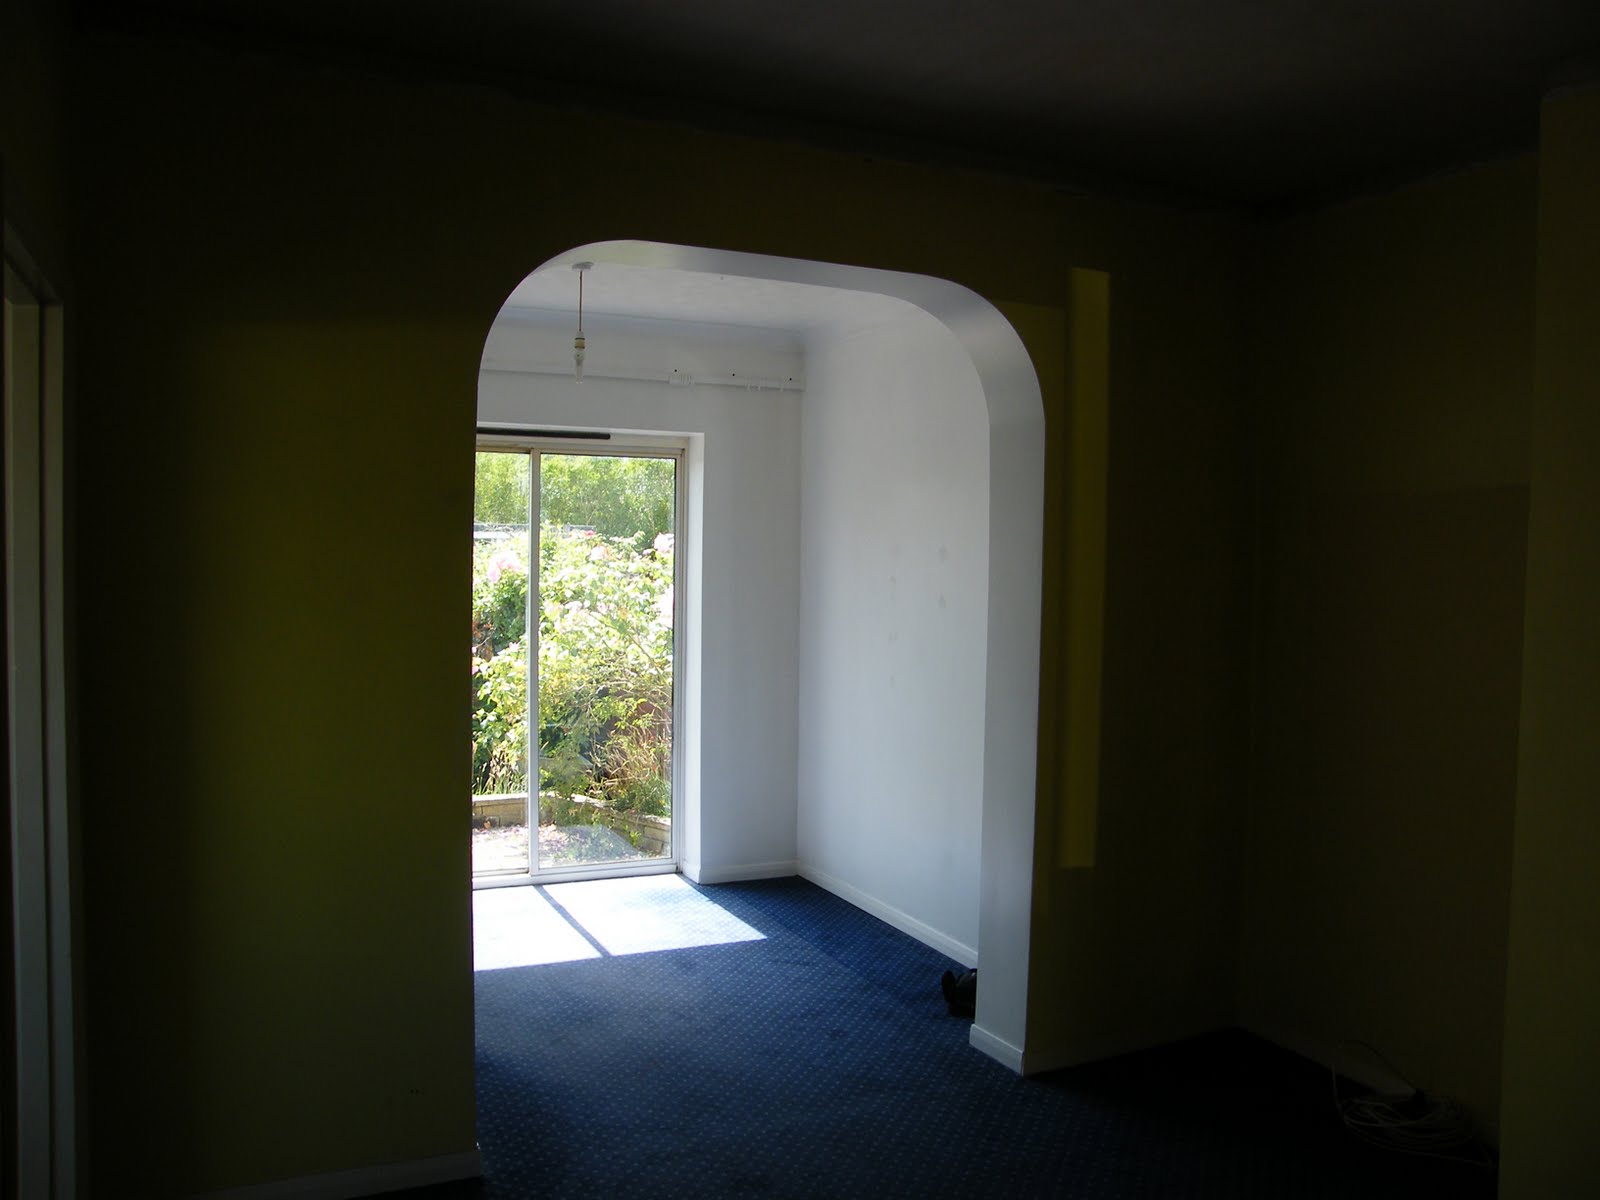
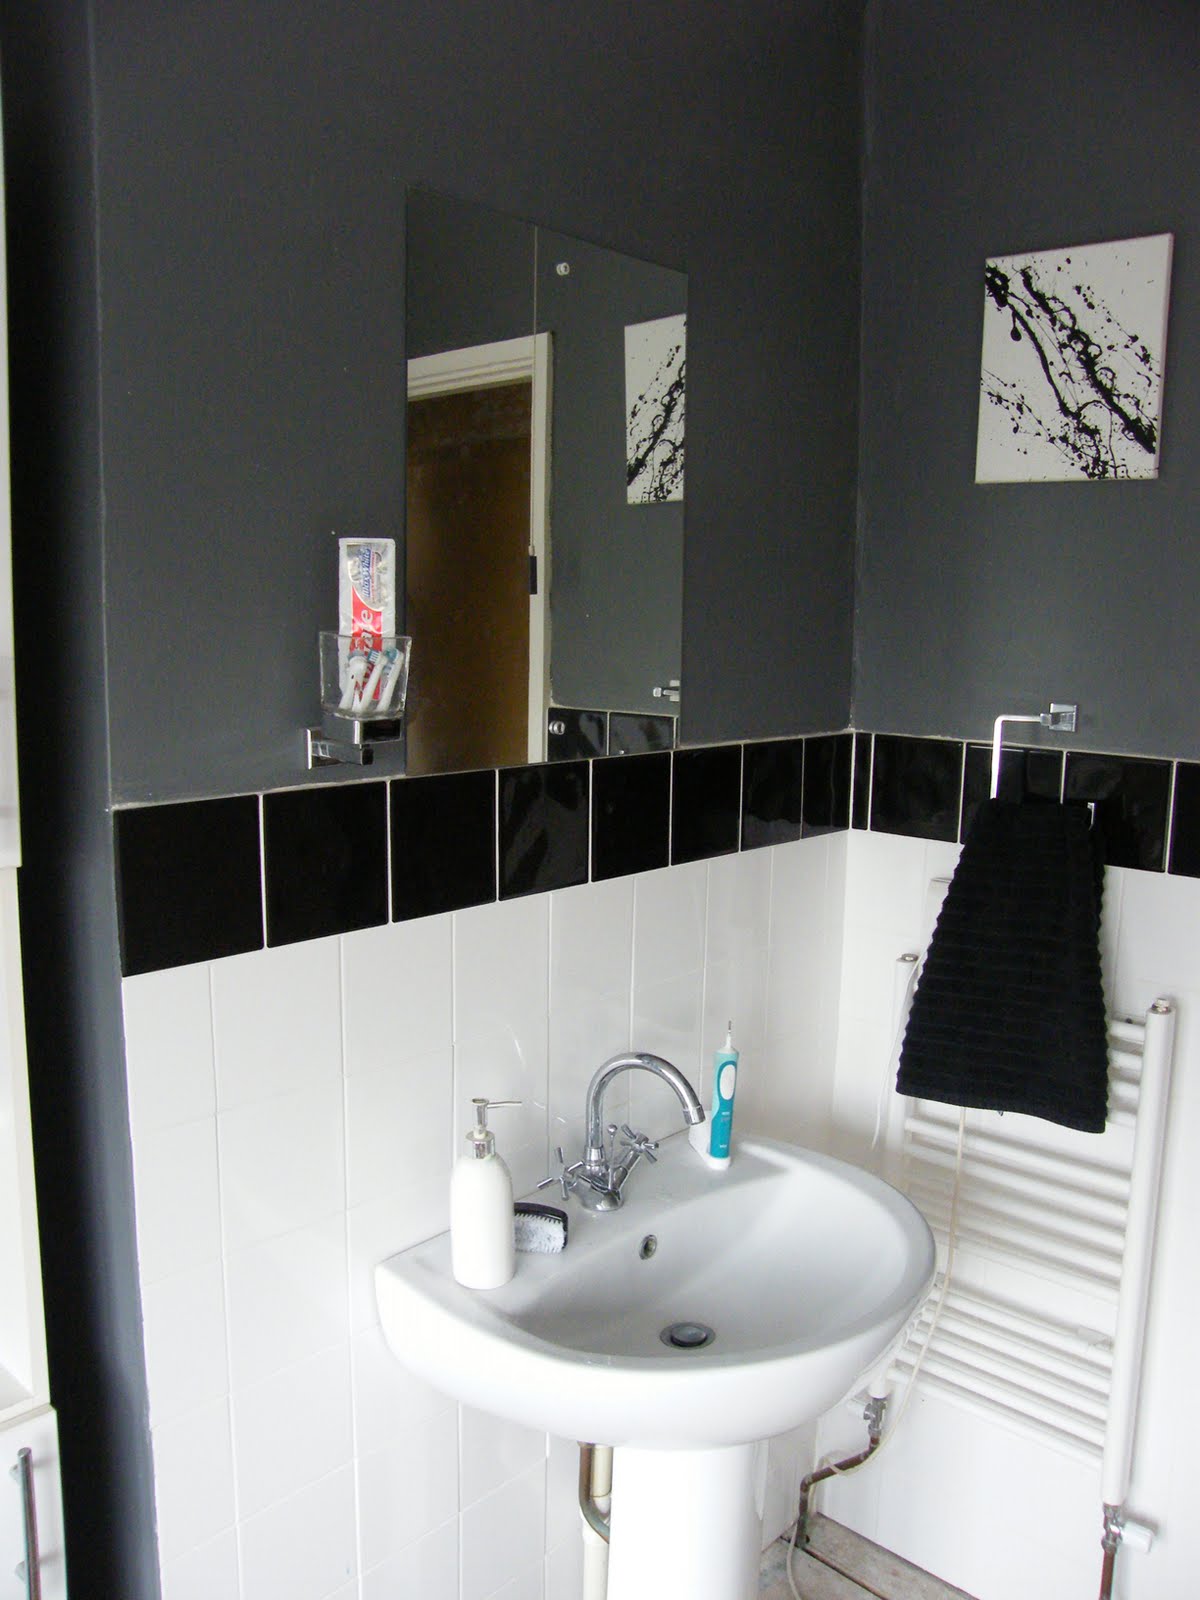
Some "before" pictures of the interior of the house. Some taken on the day we moved in and some taken on our second viewing.